(Click to download - unzip the file and add to your User/Movies/Motion Templates/Compositions folder which will mean you can use the project without the risking of overwriting it)
A free character rig for Motion 5 that allows you to pose and animate your 2D character.
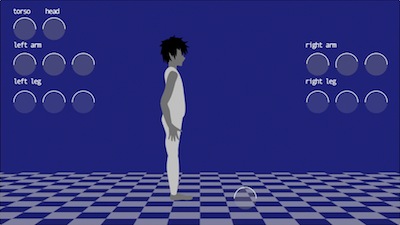 It's not yet fully developed but you can for example choose the character orientation and there's also the option of choosing the hand position (face, side, fist) just to get you started.
It's easy to either edit the existing character parts (which are just basic Motion shapes) or add in your own.
Please note that the video above is not intended to show off my character animation skills (non-existent) or character design abilities (ditto), but just to give you an idea of how the rig works.
(Click to download - unzip the file and copy the entire contents of the unzipped folder to your User/Movies/Motion Templates/Effects folder.)
This effect gives more effective cropping control than the built-in Crop & Feather effect in FCP X.
It gives you the ability to adjust the crop using onscreen controls for each edge (rather than the double-action routine used in Crop & Feather), and unlike most crop tools it gives you the ability to feather each edge independently of the others.
(Click to download - unzip the file and copy the entire contents of the unzipped folder to your User/Movies/Motion Templates/Titles folder.)
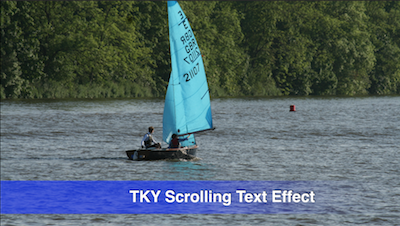
A Title effect for creating rolling news style scrolling lower thirds, with controls for:
- Scroll Rate;
- Reduce flicker on/off;
- Start offscreen on/off;
- Band position, height and color;
- Band feather position;
- User image On/Off, position, scale and rotation;
- Opacity gradient on/off.
- Band Feather Position control, and drop shadow controls for band.
(Click to download)
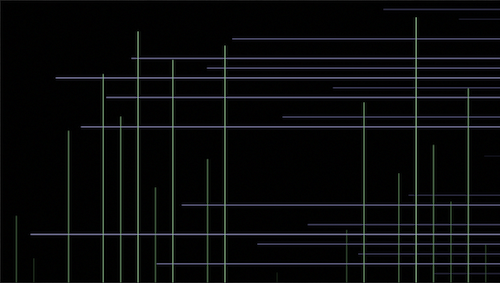
A Generator for animating the build in of a grid.
(Click to download)
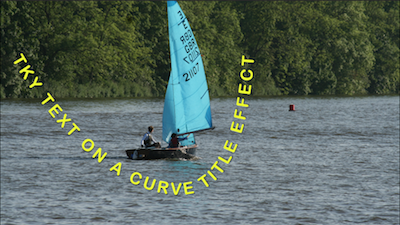
A title effect for creating text that follows a path for some unusual animations. You have three onscreen controls for defining the centre point of the curve
as well as its two ends which give you a lot of control for the path shape and positioning.
You can animate the text so that it moves along the path using the path offset control.
You can also reveal the text from either end using either the start or end sliders - or both.
You can choose whether or not the text aligns itself to the path or the characters stay vertical by using the align to path on/off toggle.
You can choose to show the path itself as well as adjusting its colour and its width.
(Click to download)
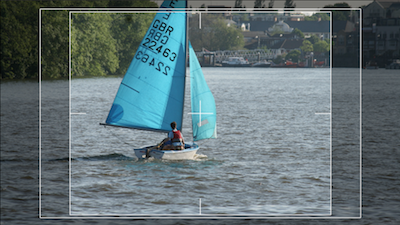
A Title Effect that give you the option of both a BBC standard Safe Title/Action Overlay and a layout Grid.
The effect (which can be placed like a title layer) above your program has a selector for either the Safe Action/Title
(with optional crosshairs) or one of two Grid overlays, either squares or 16:9 aspect ratio rectangles
(both of which can be scaled to taste), for accurate positioning of titles and other graphics elements.
There are various controls for the colour of the various elements of the overlays and different components can be
switched on/off as desired.
Note that there are a variety of Safe Action/Title effects out there of varying degrees of accuracy.
This one adheres strictly to the BBC standard (Safe Action = 80% active width, 93% active height;
Safe Title = 65% active width, 90% active height), but the specifics may vary in your territory.
(Click to download)
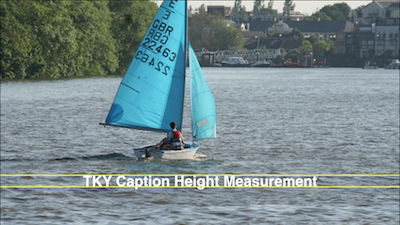
A Title Effect for measuring pixel height - there are four versions (1080, 720, PAL and NTSC)
- for measuring legal text height (and anything else you need to measure in vertical pixels).
It's essentially two horizontal lines that can be place wherever you need them (vertically) and you can adjust
the gap between them in precise 1 pixel increments (from 0 to 300 pixels).
Make sure you use the version appropriate to the project format you are working in as using the wrong one will give an incorrect result.
The default setting is 17 pixels which should give you a "safe" size for UK advertising if you make a lower case "w" sit exactly in the gap with no space top or bottom.
Please make sure this corresponds with any specific local instructions before relying on it.
Note that this is a Title Effect - so add it as a layer above any text you are entering and make sure you disable/delete it before output!
